Pepper on the balcony: growing step by step
Vegetables grown on your own plot are much healthier than those purchased in stores. Unfortunately, modern realities are such that not everyone is able to grow garden crops on their own - most do not have land. Therefore, those who want to consume an environmentally friendly product are trying to create a mini-garden in their apartment, equipping a window sill or balcony for this business. In this article we will talk about growing pepper on the balcony.
What kind of pepper can be grown on the balcony
For growing a vegetable at home, not all of its varieties are suitable. They should be stunted, not more than 100 cm, and with small leaves, so that the process of photosynthesis with limited lighting takes place efficiently.
Important! The start of preparatory procedures depends on which pepper you grow, sweet or bitter. Sweet landed in early February, and sharp - at the end of this month - at the beginning of next. Otherwise, everything is the same.
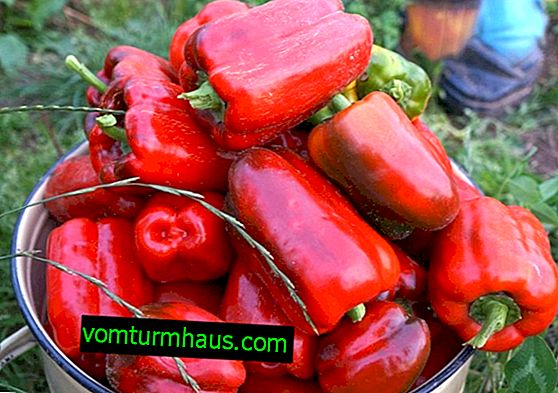
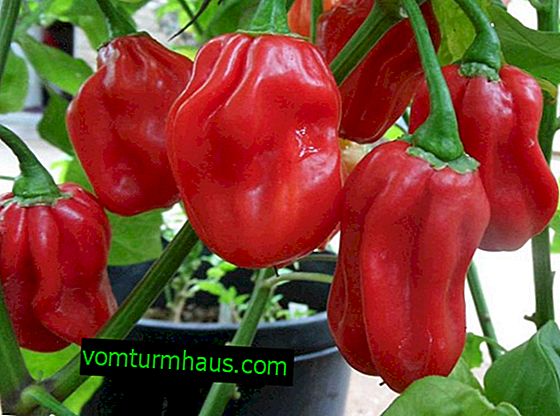
Sweet (Bulgarian)
Among the early varieties of sweet (Bulgarian) pepper, you can grow on the balcony:
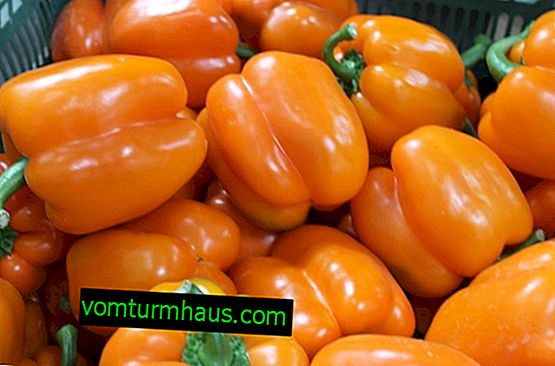
- Orange miracle;
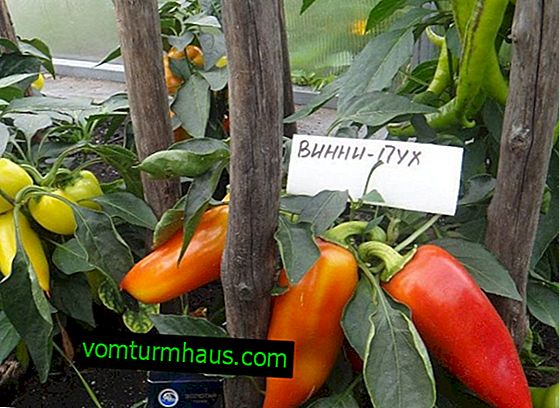
- Winnie the Pooh;
- Pinocchio;
- Negociant;
- Tenderness.


Varieties with an average ripening period:
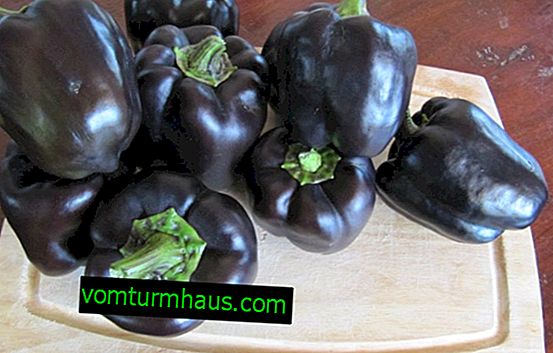
- Night;
- Astrakhan;

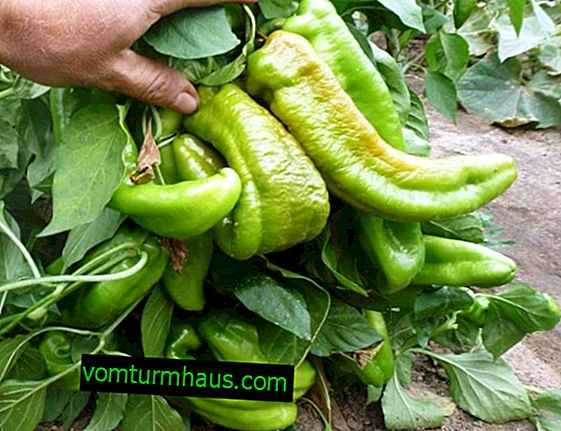
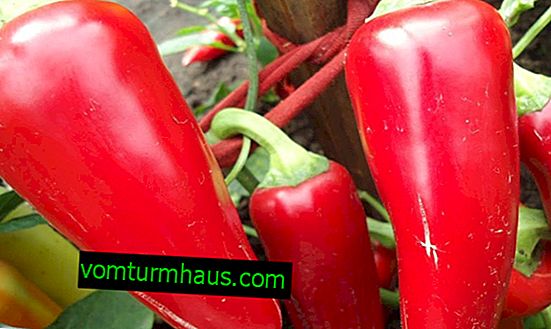
- Elephant trunk.


Early grades:
- Swallow;
- Alyonushka;
- California miracle.


Acute
Among the varieties of hot pepper, the most suitable for growing on the balcony are:
- Indian summer;
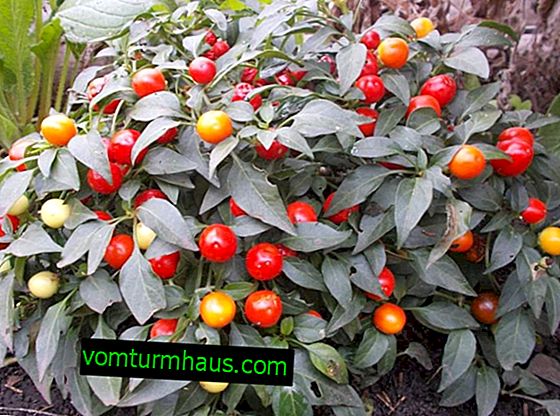
- Goldfinger

- Confetti;

- Small miracle;
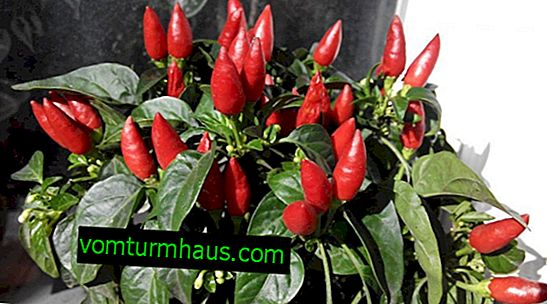
- Jellyfish;
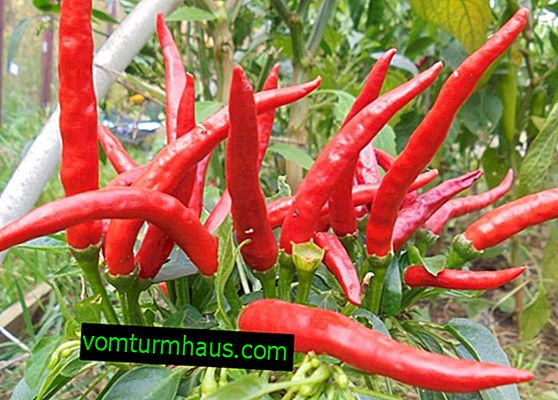
- Constellation;
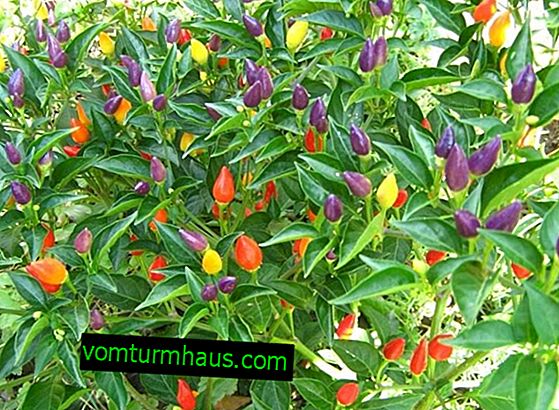
- Habanero red.


Features of growing pepper on the balcony
When growing vegetables on the balcony, you need to consider that the culture is thermophilic and photophilous. Otherwise, this process is no different from the process of growing ordinary seedlings.
Seed preparation
Before planting, seeds require preparation. Initially, they are soaked in a pale solution of potassium permanganate for three hours in order to determine the suitability of the seed. “Live” seed will sink to the bottom, “dead” - will pop up. Seeds suitable for sowing are dried and soaked in a growth stimulator for 18 hours. After the seed is laid out on a white cotton cloth, folded several times and saturated with warm water.
Did you know? Once in France, pepper paid fines. So the population of the city of Beziers received a fine of three pounds of pepper for " help " in sending the Viscount Roger to the next world.
The fabric is tied in a knot and placed in a bag. The package must be left in a warm place. Three days later, a seed test is performed. If sprouts appeared in a small part of the seed, then the bundle is left for another day or two. If the situation with the shoots is radically opposite, then you can proceed to the last stage of preparation - hardening. Seed is placed on the lower shelf in the refrigerator for three days.
Soil preparation
Pepper soil can be prepared independently by mixing peat with sand and humus, or you can buy it in a store. Suitable soil designed for planting tomatoes, eggplant and pepper. Before filling wooden boxes or plastic cups with soil, it must be sanitized. It is enough to pour boiling water over the earth. A drainage layer is necessarily poured at the bottom of the tank.

Picking seedlings
The pick is carried out after the appearance of five true leaves. The strongest seedlings are selected.
The picking process, step by step, looks like this:
- Prepared containers with earth 24 hours before the procedure are poured with cold water.
- A depression is made in the soil.
- A couple of hours before a dive, the seedlings are irrigated.
- The seedling is carefully removed from the soil, together with the soil. His spine is pinched by a third.
- Neatly placed in a new container. The main root should not bend in the hole, and the leaves should rise 15–20 mm above the ground.
- Around the seedling, the kidney is compacted and watered with warm water.
- In new containers, seedlings are located on a warm windowsill.
Video: picking pepper seedlings
Seedling hardening
14 days before the transplantation of young plants into pots, a hardening procedure is carried out. They are taken out into the open air, but only if the temperature in the street is high enough. You can leave them for the whole day, and in the evening bring them into the room.
In addition to the hardening procedure, it is recommended to fertilize with potassium salt, seven days before transplantation, and treatment with growth stimulants, a day before planting. So the seedlings will receive protection from diseases and will be more resistant to the external environment.
Did you know? Black pepper came to Europe about 600 years ago. At that time, this spice was so appreciated that it paid for goods and was equated to gold, in value.
Pepper transplant
Transplantation is carried out with the advent of the 12th true leaflet. Also in the sinuses should be visible kidneys. Usually the height of such seedlings is about a quarter meter. It looks like a 55-day seedling. They plant it in a permanent place in wide ceramic pots. This material will provide temperature support for the root system at a certain comfortable level. The soil used is the same as for seedlings, and the process looks similar to picking, but without pinching the root.

Rules for the care of pepper on the balcony
As mentioned earlier, pepper is a thermophilic plant. For its normal growth and development, it is necessary to maintain the daytime temperature at + 25 ... + 27 ° С, nighttime - + 10 ... + 15 ° С. In the summer, culture can live peacefully on the balcony, and with the advent of cold weather it is advisable to move it to the southern windowsill, away from drafts.
A light-loving plant needs a twelve-hour daylight. During the day, a pot of pepper is recommended to be turned in different directions to the window. For a short daylight, use fluorescent lamps that shine with white light.
Important! Sick, dry shoots and leaves, as well as branches without fruits, should be removed in a timely manner.
Watering and feeding
As soon as the bush is replanted, it is immediately watered with warm water with potassium permanganate. The solution will disinfect the soil. The next irrigation is carried out as the topsoil dries. It is advisable to use well-maintained and warm water (+ 30 ° C). In the hot season, spraying is also carried out.

Trimming and shaping a bush
Pinching the bush is carried out when it reaches 100 cm in height. In this way, there is an adjustment of its growth. For the normal growth and development of shoots, at the time of the appearance of the buds, the lowest ones are removed (one on the stem). The removal of lateral sprouts, leaves to the first branch is regularly carried out.
Some more features of the formation of the bush:
- removal of stepsons growing from the axils of the leaves;
- green mass is removed under the first branch;
- the formation of the bush is carried out in two shoots;
- on a weak branch, the tip is pinched behind the first ovary;
- 30 days before the end of the growing season, all the tops are pinched to stop growth.
You will also be interested to learn how to grow chili peppers on a windowsill from seeds.
Transfer
The balcony miracle is transplanted annually in the spring. You can leave the pot the same or take a size larger. The bush is removed from the old tank by transshipment (the earthen lump is not destroyed so that the roots are not injured). The two-year-old plant is no longer transplanted, but replaced by a new one, since the culture is two-year-old.
Pest and Disease Control
Problems encountered when growing pepper on the balcony:
- the leaves are curled and framed with a dry edging (indicates a lack of potassium, you need to make potassium nitrate or potassium sulfate);
- foliage is small, grayish in color (lack of nitrogen, you need to feed with ammonium nitrate, containing 35% nitrogen);
- the inner part of the foliage with a purple hue (lack of phosphorus, phosphoric 16–18% acid is introduced);
- the bush has acquired a marbled hue (lack of magnesium, add magnesium sulfate with watering);
- leaves in a white dot, the leg turned black (moisture stagnates in the pot, watering should be reduced);
- the plant was covered with a small cobweb (a spider mite settled, a karbofoska or celtan is being treated, they are also used for prophylactic purposes).

Additional recommendations
Some tips on how to grow a strong, well-bearing plant on the balcony:
- Varieties intended for home cultivation are self-pollinated, so if you decide to collect seeds yourself, do not keep nearby bushes of different varieties.
- With the appearance of the first ovary, thin it out so that 3-4 fruits remain. So you will not overload the plant.
- Seed is harvested from ripe fruits. It is dried for 4-5 days in a warm room and stored in paper bags for storage. You can keep warm for five years.
Learn more about the best varieties of indoor pepper.
As you can see, growing peppers at home is absolutely not a complicated process. Observing all the rules, you can feast on an environmentally friendly vegetable.


